

Organizations using Microsoft Power Apps often need to not only share their apps and customizations across environments (such as development, test, or production) but also move related data records—like configuration settings, lookup tables, or business-specific metadata. Below, I outline the most effective ways to share such records and provide a step-by-step guide to using the Configuration Migration Tool (CMT) for this purpose.
Common Ways to Move Power Apps Data Between Environments
| Method | What it Moves | When to Use |
| Solution Export/Import | App schema, customizations, logic, tables | Always for moving apps and tables, but not data |
| Configuration Migration Tool (CMT) | Schema-defined record data (incl. lookups) | To move config/seed data along with your solution |
| Dataflows/Power Query | Bulk or recurring data loads | Large data sets, automation, or scheduled migration |
| Excel/CSV Import/Export | Table data | Ad-hoc, small table data migrations |
| Third-Party Tools | Varies (often similar to above) | Complex migration needs or when above tools fall short |
Why Solution Export/Import Alone Doesn’t Move Data?
While Power Apps solutions are built to move the structure—apps, flows, custom tables they do not move actual records in tables. When you import a solution into another environment, your apps and schema appear, but your data tables will be empty.
Step-By-Step: Migrating Records Using the Configuration Migration Tool
The Configuration Migration Tool (CMT) is Microsoft’s recommended approach for exporting and importing Dataverse table data (records) between environments, especially for configuration or reference data.
Step 1: Download and Install the Configuration Migration Tool
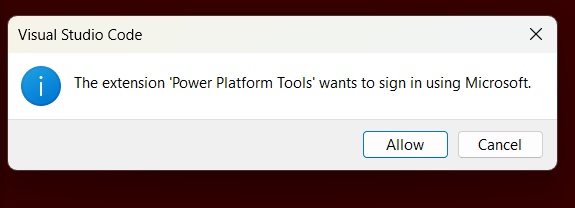
- The tool is included in the Power Platform Tools download or available as part of the [Solution Packager tools from Microsoft].
- Extract and run the tool on your Windows machine.

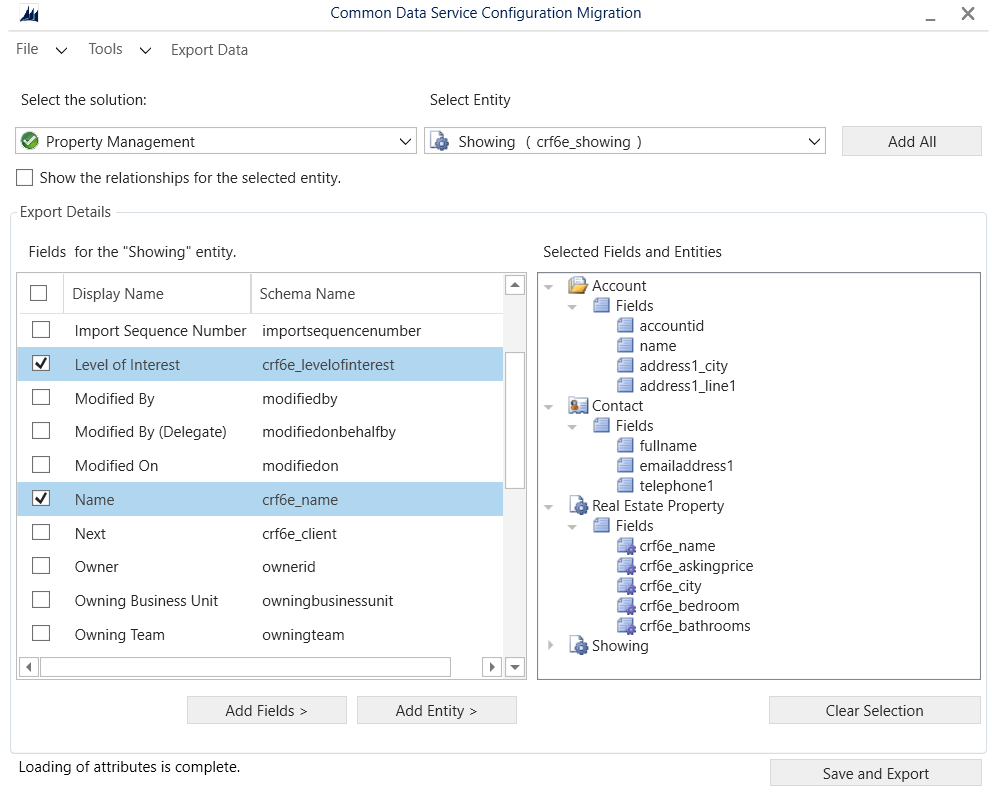
Step 2: Create a Data Schema (Data Schema File)
This XML file tells CMT which tables and fields to export.
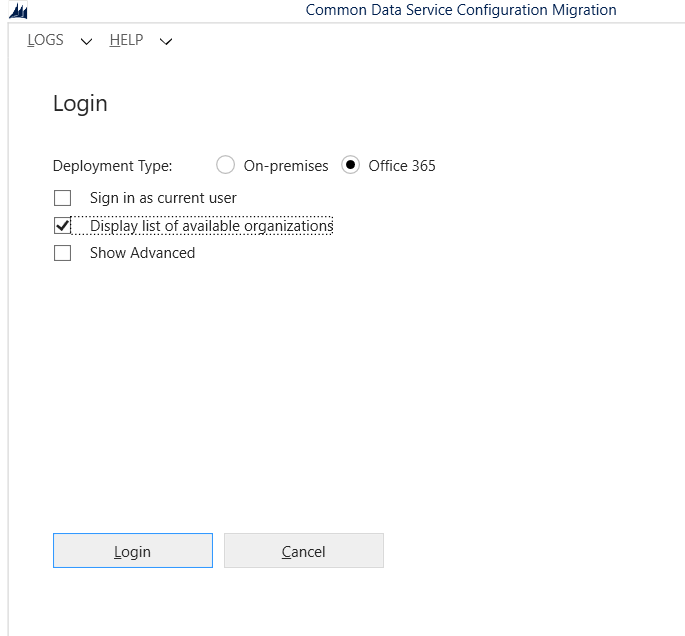
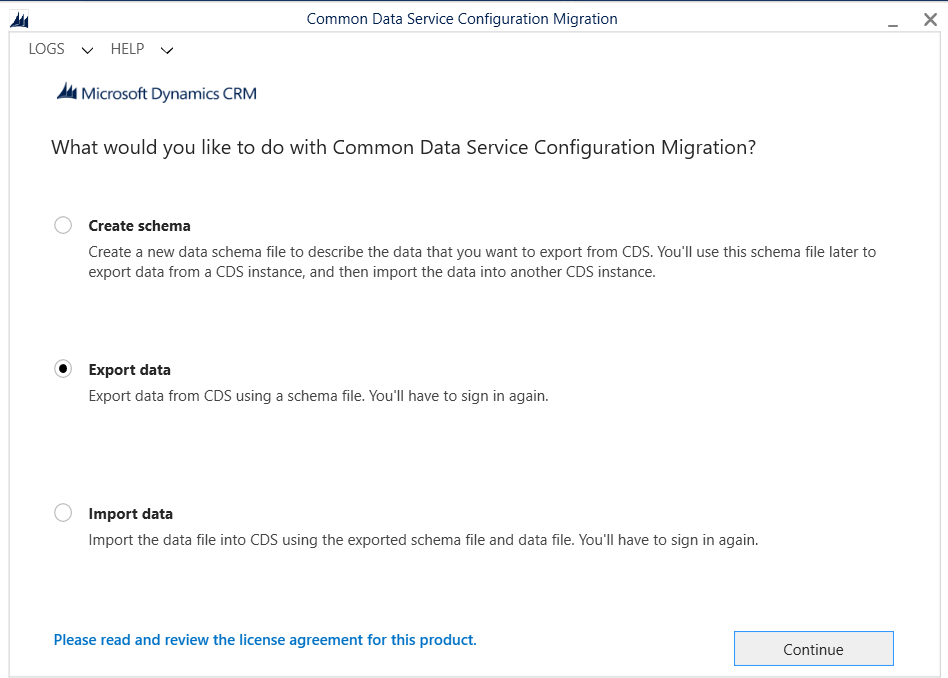
- Open the CMT and select Create Schema.
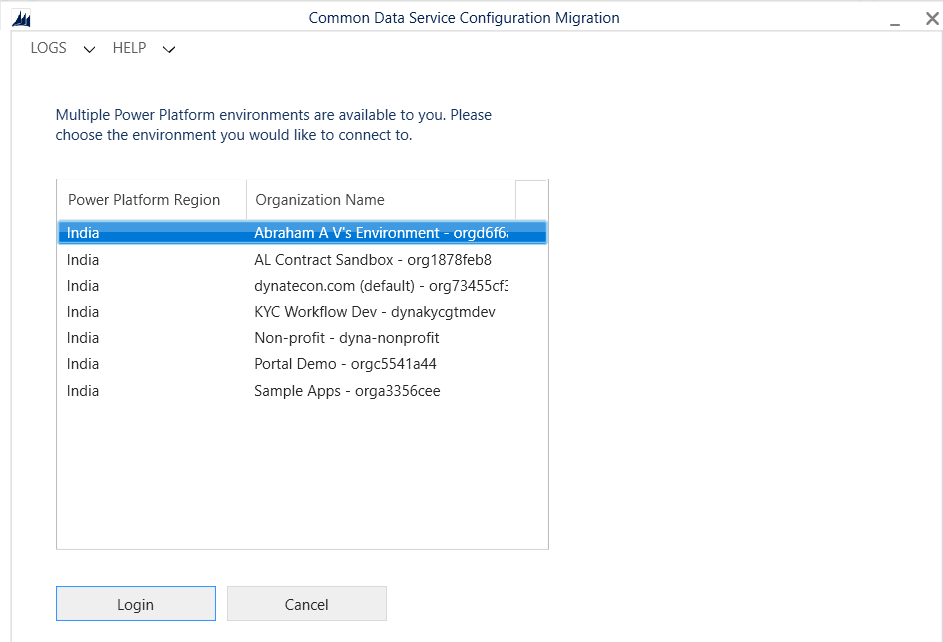
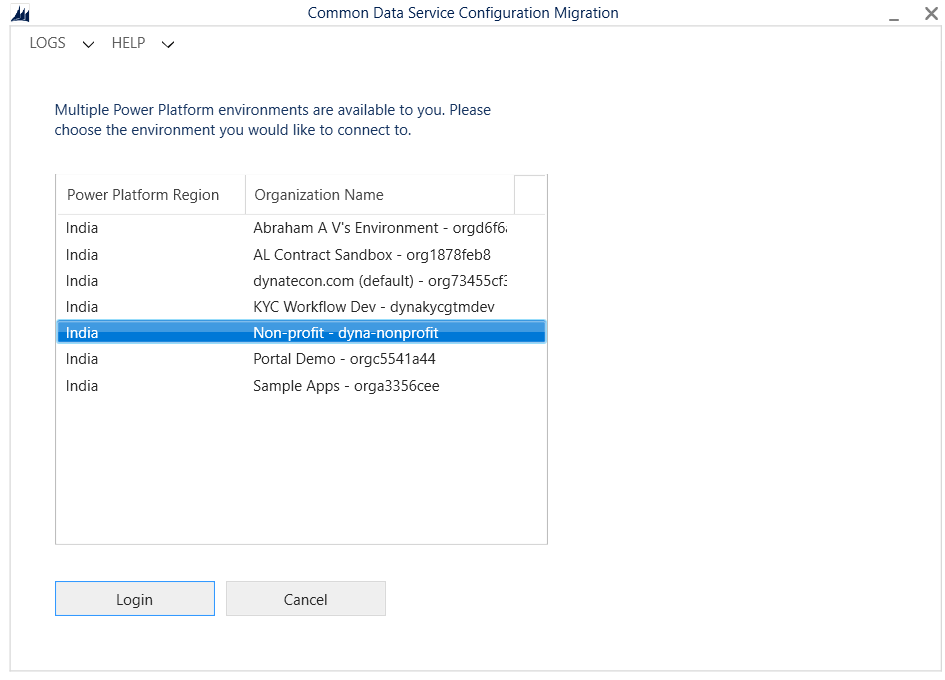
- Connect to your SOURCE environment (where your data currently resides).
- Select the required entities/tables (and optionally relationships or filters to target specific records).
- Save this schema file locally.


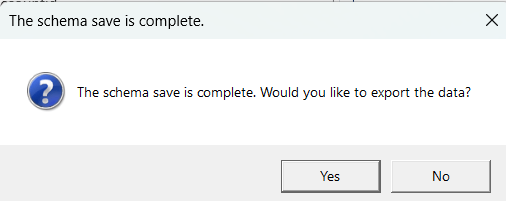
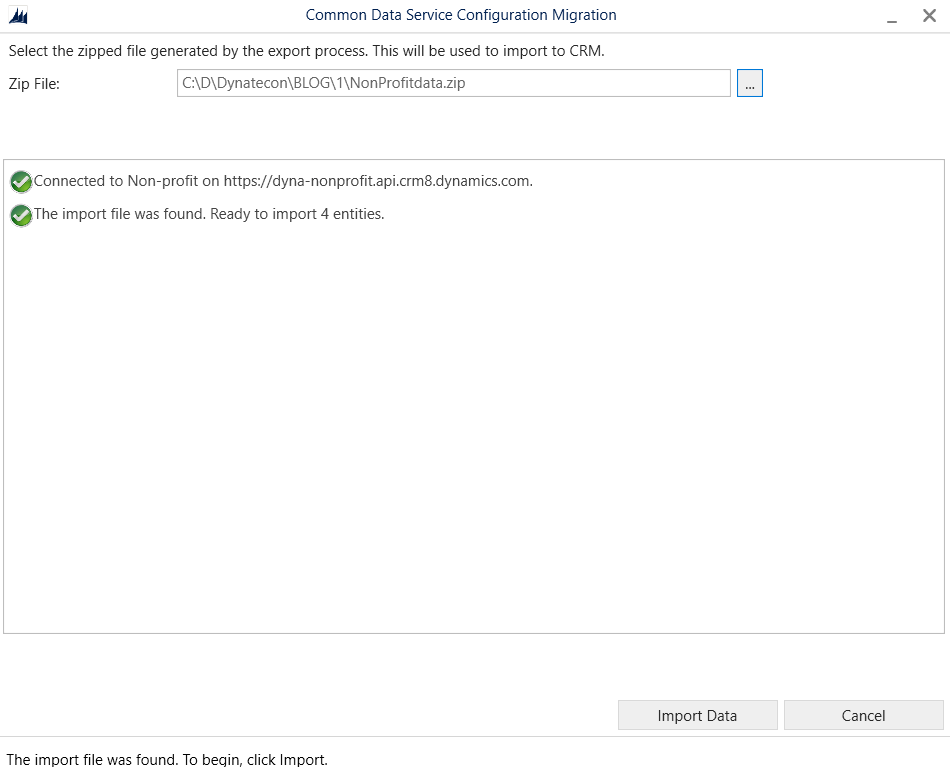
Step 3: Export Data
- Open CMT again and select Export Data.
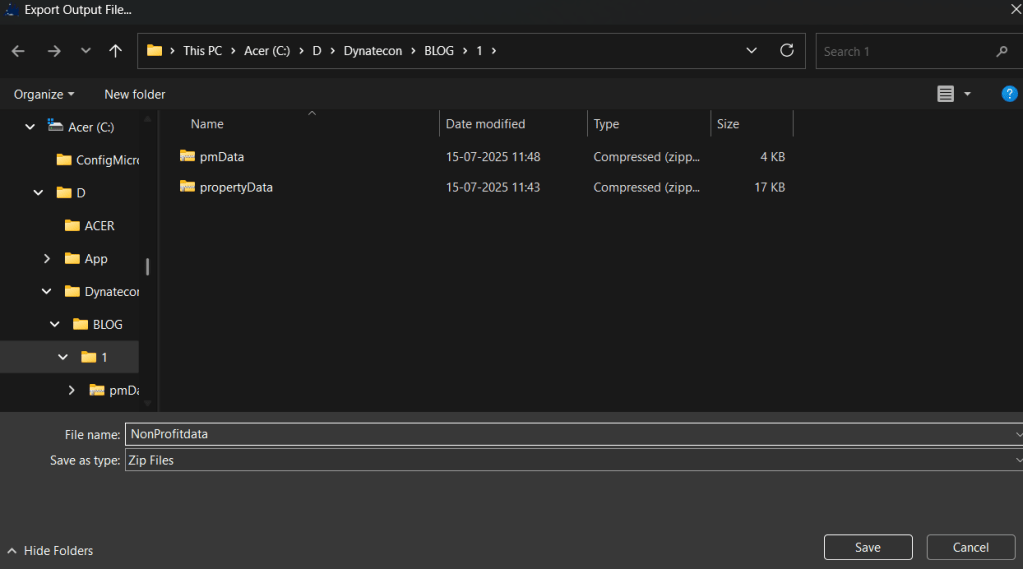
- Select your saved schema file.
- Choose an output location and filename for the export (it will be a .zip archive).
- The tool retrieves records as per the schema and saves them in the ZIP file.


Step 4: Import Data Into the Destination Environment Open CMT and select Import Data.
- Connect to your TARGET environment.
- Select the ZIP file exported in the previous step.
- Start the import.
- Verify the records in the Dataverse tables once complete.

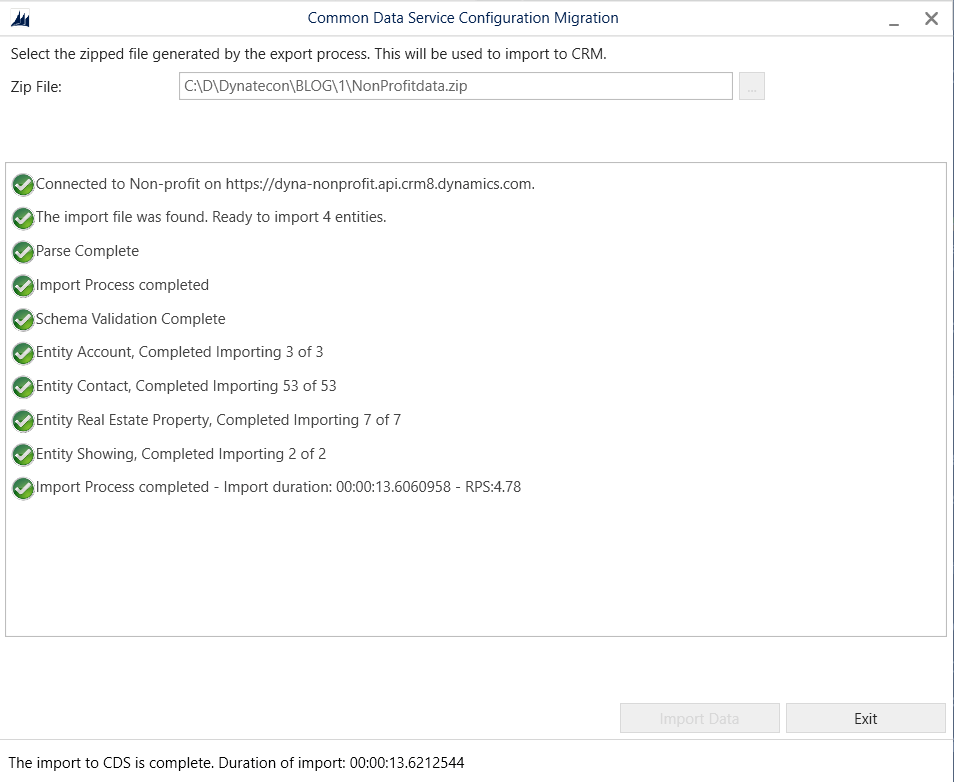
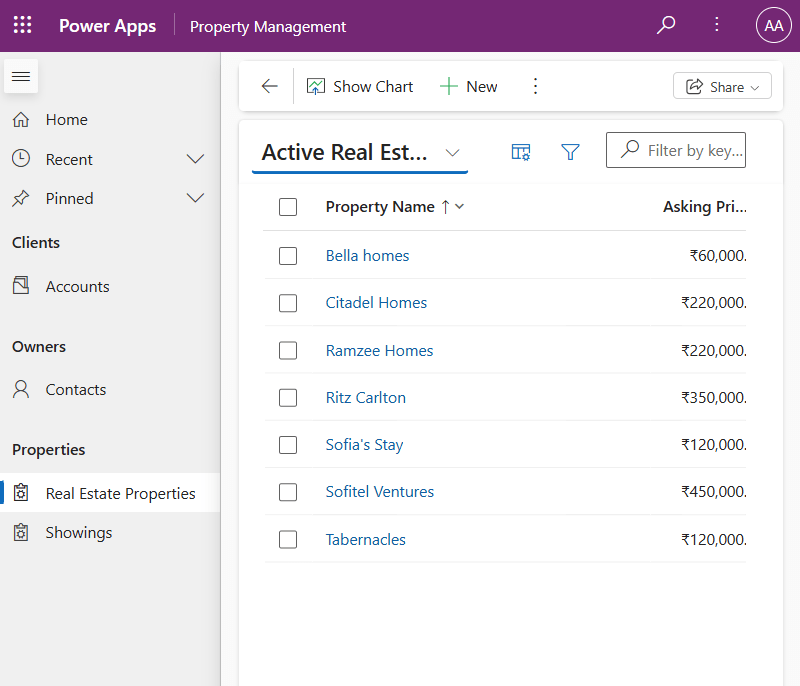
Step 5: Validate and Test
- After importing, open Power Apps in the destination environment.
- Check the relevant tables to confirm your records have imported as expected.
Best Practices and Tips:
- Use CMT specifically for configuration/reference data (users, business data should use other tools).
- Ensure related tables and lookups are included in your schema to maintain data integrity.
- Coordinate timeline and permissions, especially in shared or production environments.
Conclusion:
While solutions enable easy migration of the app and schema, they do not carry across actual records. For most Power Apps/Dataverse scenarios, the Configuration Migration Tool is the standard and robust choice for moving table records between environments, supplementing your solution import/export process.
For more advanced scenarios and troubleshooting, consult Microsoft’s documentation and community forums, or leverage Power Platform Dataflows for bulk or ongoing integrations.
References:
Configuration Migration tool in Power Platform
Install the Power Platform Tools Visual Studio Code extension
Microsoft Power Platform CLI Overview and Installation
Microsoft Power Platform CLI Command Groups
