
The custom page is a new page type within a model-driven app, which brings the power of canvas apps into model-driven apps. Custom pages increase the convergence of model-driven and canvas apps and can be used to add full pages or dialogs with the flexibility of the canvas designer.
This blog tells you how to add a custom page as a main page to an existing model-driven app using the modern app designer as shown in Fig.1 below.

Custom pages can be created from two places. The first is while authoring a model-driven app in the modern app designer. The other is from the Solutions area in Power Apps.
SCENARIO:
Here, a custom page is created from the Solutions area separately and then added to the existing model-driven app in modern app designer in power apps.
Custom Page Details:
A canvas custom page named “Users List” need to be created which will contain a button called “GET USERS LIST” and on clicking the button, it calls for a flow to get users details and send back the response to this custom canvas page.
Create a new custom page from the solutions area:
Step 1: In power apps, select the Solutions from the left navigation pane and then open an existing solution to add the new custom page.
Step 2: Select New > App > Page inside the solution to add a new Page.

After clicking on ‘Page’ option as said, you will be directed to a plane custom canvas page, which has features similar to that of canvas apps as shown in Fig.3 below.

Step 3: Create a canvas app in this custom canvas page to get users details.
For more details about creation of this canvas app, you can follow the Link below:
Once you are finished creating your canvas app custom page, save and publish as shown in Fig.4 below, and then close the canvas app designer browser tab.

Add a custom page into an existing Model-Driven app
Step 1: Open an existing model-driven app from the same solutions area using modern app designer in power apps.
Step 2: Select the Navigation tab.

Expand the navigation tab and then select the location to place the already created custom page as shown in Fig.5 above.
Step 3: Select Add > Subarea in order to place the page, after selection of location.

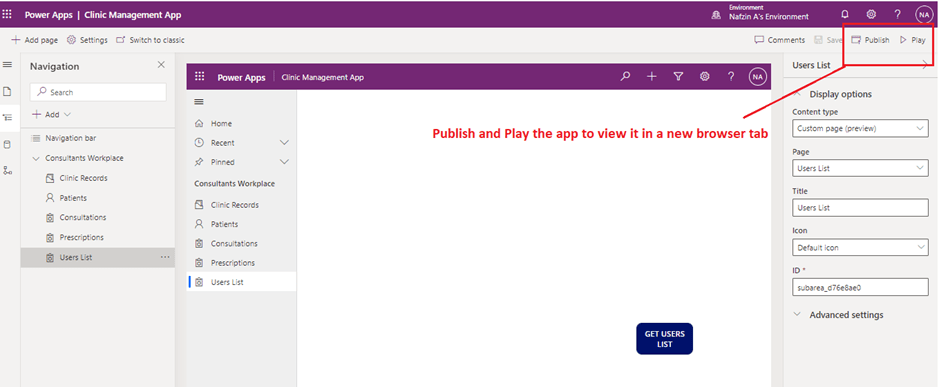
Step 4: In the right property pane of selected subarea, change the content type to custom page (preview) and select an existing custom page “Users List” from the list. Also, enter a title.

Step 5: Select Publish, which also saves the app if there are changes.
Step 6: Select Play to run the app in a new browser tab.
After selecting the ‘Play’ option, the app will be shown in a new browser tab. Hence, on clicking the button “GET USERS LIST”, it gets grey colored as shown in the Fig.9.
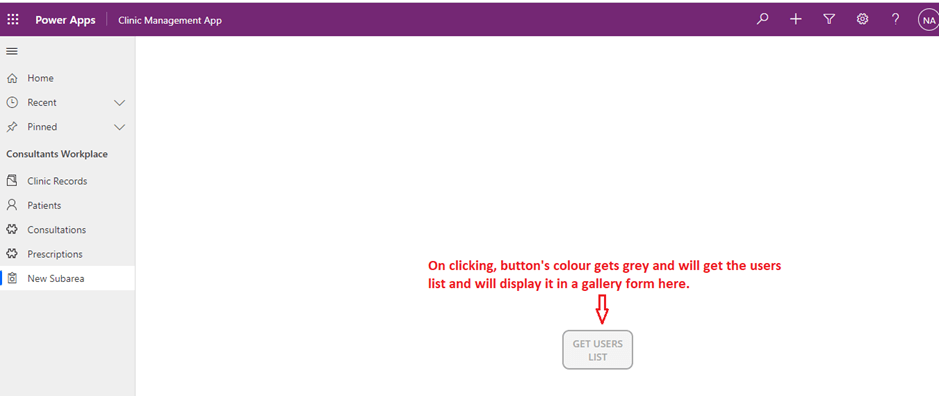
As depicted in Fig.10 below, after clicking the button, it will call for the Users list and gets displayed here in the gallery form of the canvas app custom page. That’s how it works.

Therefore, this is the one method used for adding an existing canvas app custom page to an existing model-driven app.
Hope it was useful!
