
The usage of buttons in model-driven apps helps in easy navigation from one table to other tables or custom pages without even leaving the respective forms. Ribbon workbench is an efficient tool used for the same.
This blog guides you through, how to call a custom page as a central dialog box inside the account form from a button click. Custom pages are the new page types used in model-driven apps which increase the convergence of model-driven and canvas apps.
SCENARIO:
A button is added on the account form in model-driven app to navigate to a custom page from the form for uploading onboarding documents. On button click, a custom page created for uploading files will be opened as a central dialog box inside the account form.
Once the user uploads the files, documents will be automatically added to a SharePoint Document Library from this canvas custom page. With the use of Custom pages and Power Automate, this functionality was achieved.
JAVASCRIPT CODE:
The JavaScript Code required to run the button to open a custom page as a central dialog box inside the main form is given below:
Navigate = {
navigateToCustomPage: function(){
var pageInput = {
pageType: “custom”,
name: “new_custompagenew_7fb85”,
};
var navigationOptions = {
target: 2,
position: 1,
width: {value: 70, unit:”%”},
title: “Client Details”
};
Xrm.Navigation.navigateTo(pageInput, navigationOptions)
.then( function () {
// Called when the dialog closes
} ).catch( function (error) {
// Handle error
} );
} }
This Jscript Code given above should be added to the web resources of the same solution that has the Model-driven app and custom page as shown in Fig.1 below.

WORKING WITH RIBBON WORKBENCH:
STEP 1: Firstly, you need to install Ribbon Workbench in Dynamics CRM.
Follow the link below to get an idea on how to download and install Ribbon Workbench.
STEP 2: Create a new solution named “TEMP RIBBON” in your environment for adding the “Accounts” table of whose form, the button needs to be added.
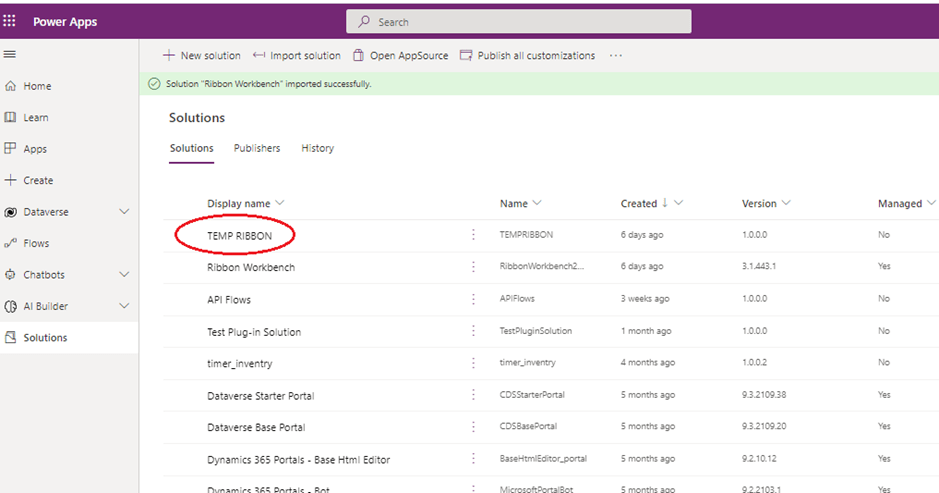
While adding the existing “Accounts” table to this created “TEMP RIBBON” solution, all the components in it needs to be excluded as shown in Fig.3.

STEP 3: In power apps, go to the Advanced Settings > Solutions.
In the Solutions in Dynamics CRM classic view, you can see the Ribbon Workbench command on the top as shown in Fig.4 below.
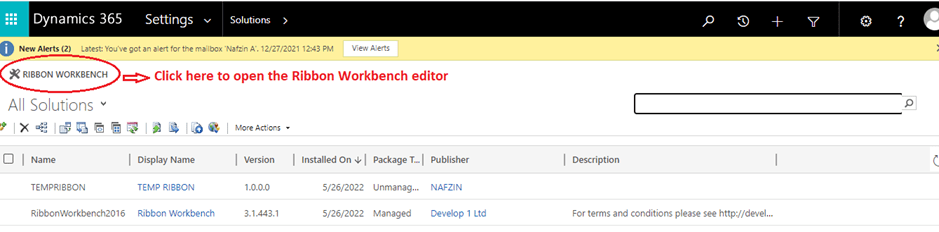
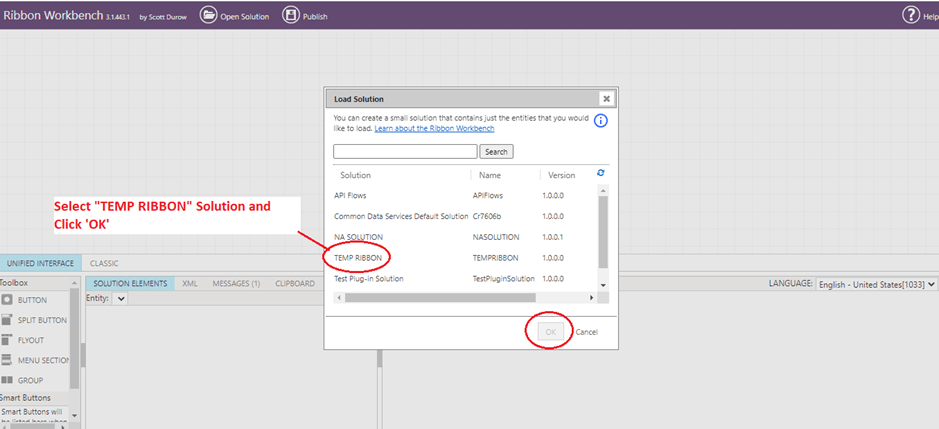
On clicking there, the Ribbon Workbench Editor opens in a new tab as shown in Fig.5 below. Now, select the “TEMP RIBBON” solution and click ‘OK’ to add the solution into the workbench.
STEP 4: Add a Button to the “Accounts” Main Form Tab and set the button’s properties.
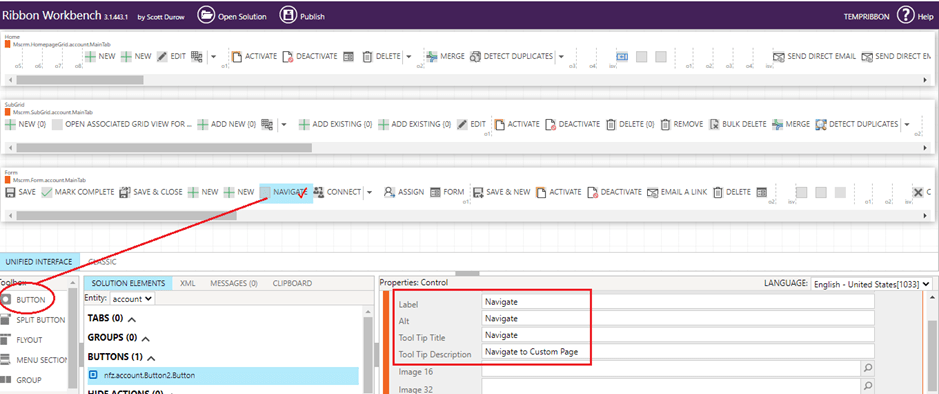
Now, as depicted in Fig.6 above, a button from left pane can be dragged and placed to a position in the Form’s main tab, where you need the button. Also, in the right properties (control) pane of the button, you can set the button’s properties such as Label, Alt, Tool Tip Title and Tool Tip Description to a meaningful one.
STEP 5: Add the JavaScript code to the button’s command properties in order to run this “Navigate” button.


Select ‘JavaScript Action’ in Commands properties as shown in Fig.8 above, in order to add the JavaScript code and function used to run the button.

For adding JScript Library as shown in Fig.9, search the Jscript code by its schema name and also add the function name used in the Jscript code, that is “Navigate.navigateToCustomPage “.
STEP 6: Publish all the customizations performed in the Ribbon Workbench.

After setting the “Navigate” button’s control and command properties, you need to Publish the Ribbon Workbench.
Working of Button in Form:
After the button customizations in Ribbon Workbench is published, you can go to your model-driven app to check the working of the new “Navigate” button added in the “Accounts” form.
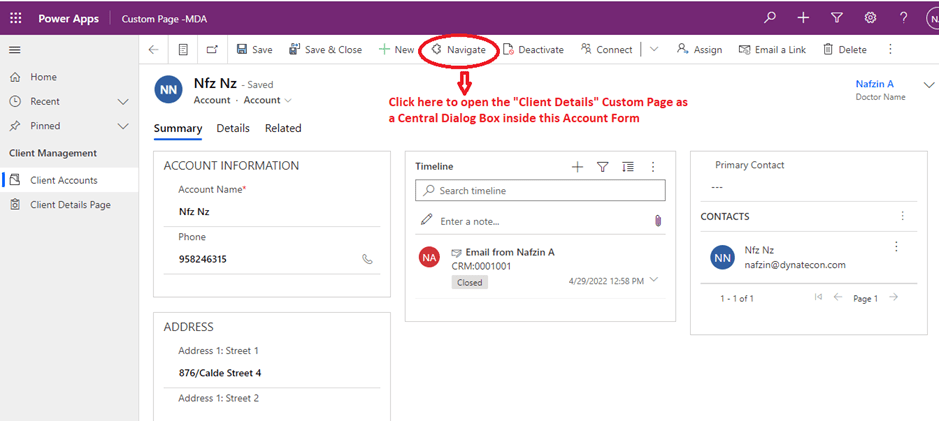

Therefore, you can call your custom page from the Accounts form on a button click without even leaving the form for uploading your client’s documents. This reduces the headache of leaving forms multiple times as well as minimizes the number of clicks involved in the whole process.
Working of Custom Page:
After attaching the multiple files from your system, you can click on the “Upload” button for uploading the document files to the SharePoint document library as shown in figures below.
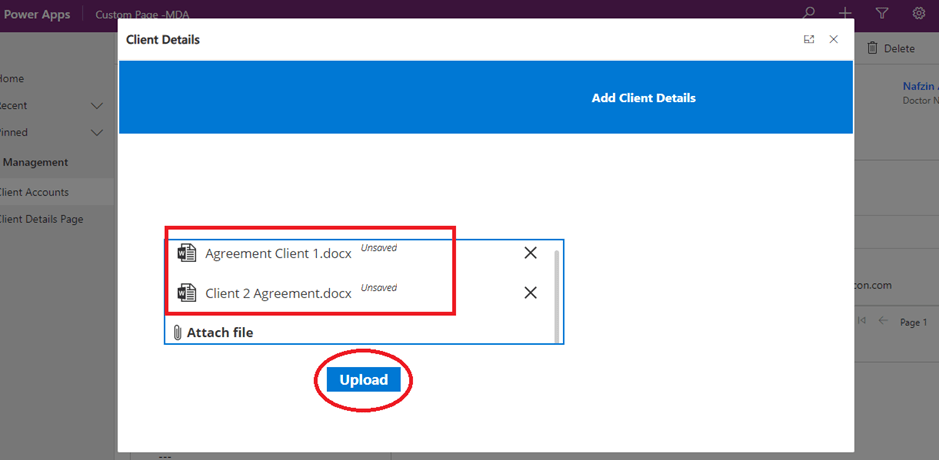

Therefore, in order to achieve this functionality of uploading multiple documents from power apps to SharePoint library, power automate flow and custom canvas pages are used.
Hope this was helpful!
