

Portals are cloud based applications which can be linked to Dynamics 365 for enabling Self service web sites for customers, pages for Partners, pages for internal users etc. Let’s get started with setting up sample Portal.
Portals are by default disabled in a new organization [ online] and can be enabled by the Administrator.
https://admin.microsoft.com/adminportal/home?add=sub&adminportal=1#/catalog
- From Admin Center, access the Admin page for Dynamics 365
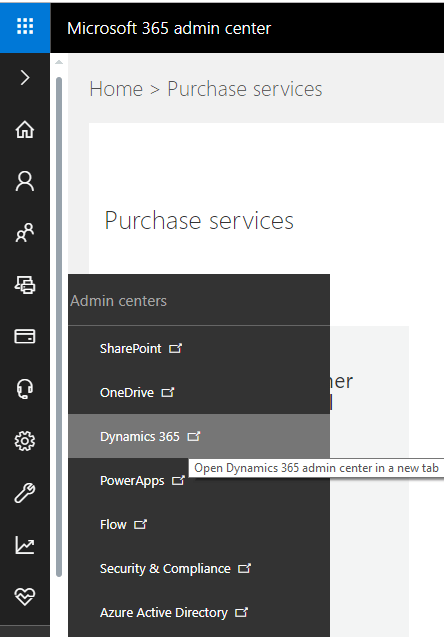
- From the Dynamics 365 Admin Center page, click on ‘APPLICATIONS’ tab, Select ‘Portal Add-On’ and click on ‘MANAGE’.

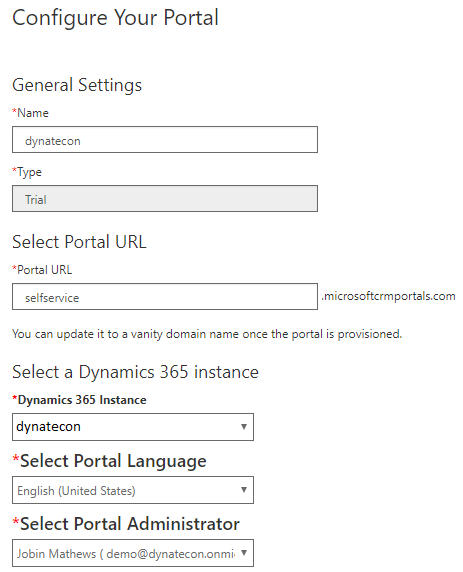
- On the Portal Setup page, fill the details and choose the type of Portal you need to setup. In my case, I opted for Customer facing portal for enabling a self-service page for customer.

- Once submitted, it takes few minutes to an hour get the Portal setup. Be patient and check after an hour :).
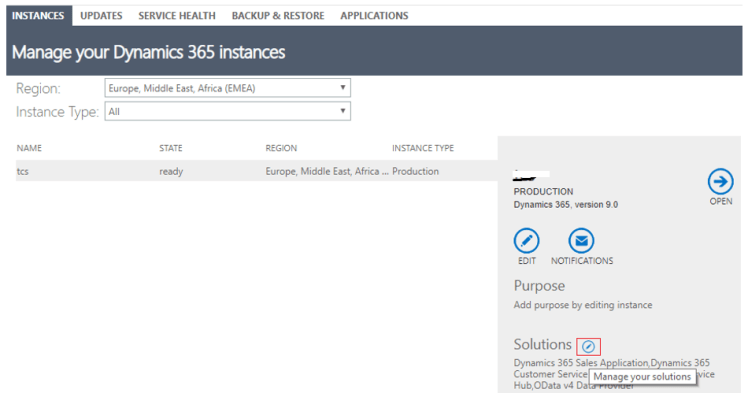
INSTANCES> Click on the button next to Solutions
- Installation completed in one hour:


- Back to Admin Center

- Clicking on MANAGE button will open the Portal configuration page which will have the url setup for the portal

- Click on the Portal URL to open the Default Portal page setup. Done! portal is ready.
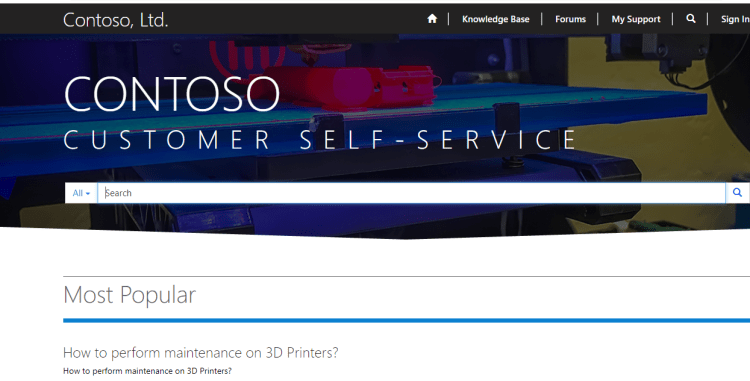
- Portal is setup with the default template and default integrations with selected CRM organization. This can be customized based on the customer requirement from CRM.
Settings>My Apps

- Properties of the Portal can be modified in the configuration module


This is how the default portal can be setup from the Admin Center. Please tune in to this blog for more details of Portals and Portal Configurations.
Hope this helps!


1 comment